
An island should provide a useful place to prepare, store or serve without making every trip through the kitchen an obstacle course. Its footprint is only the beginning of the space it occupies.
We compare a fixed storage island, a temporary extra surface and a layout without an island. The aim is to choose the function first and the furniture second.
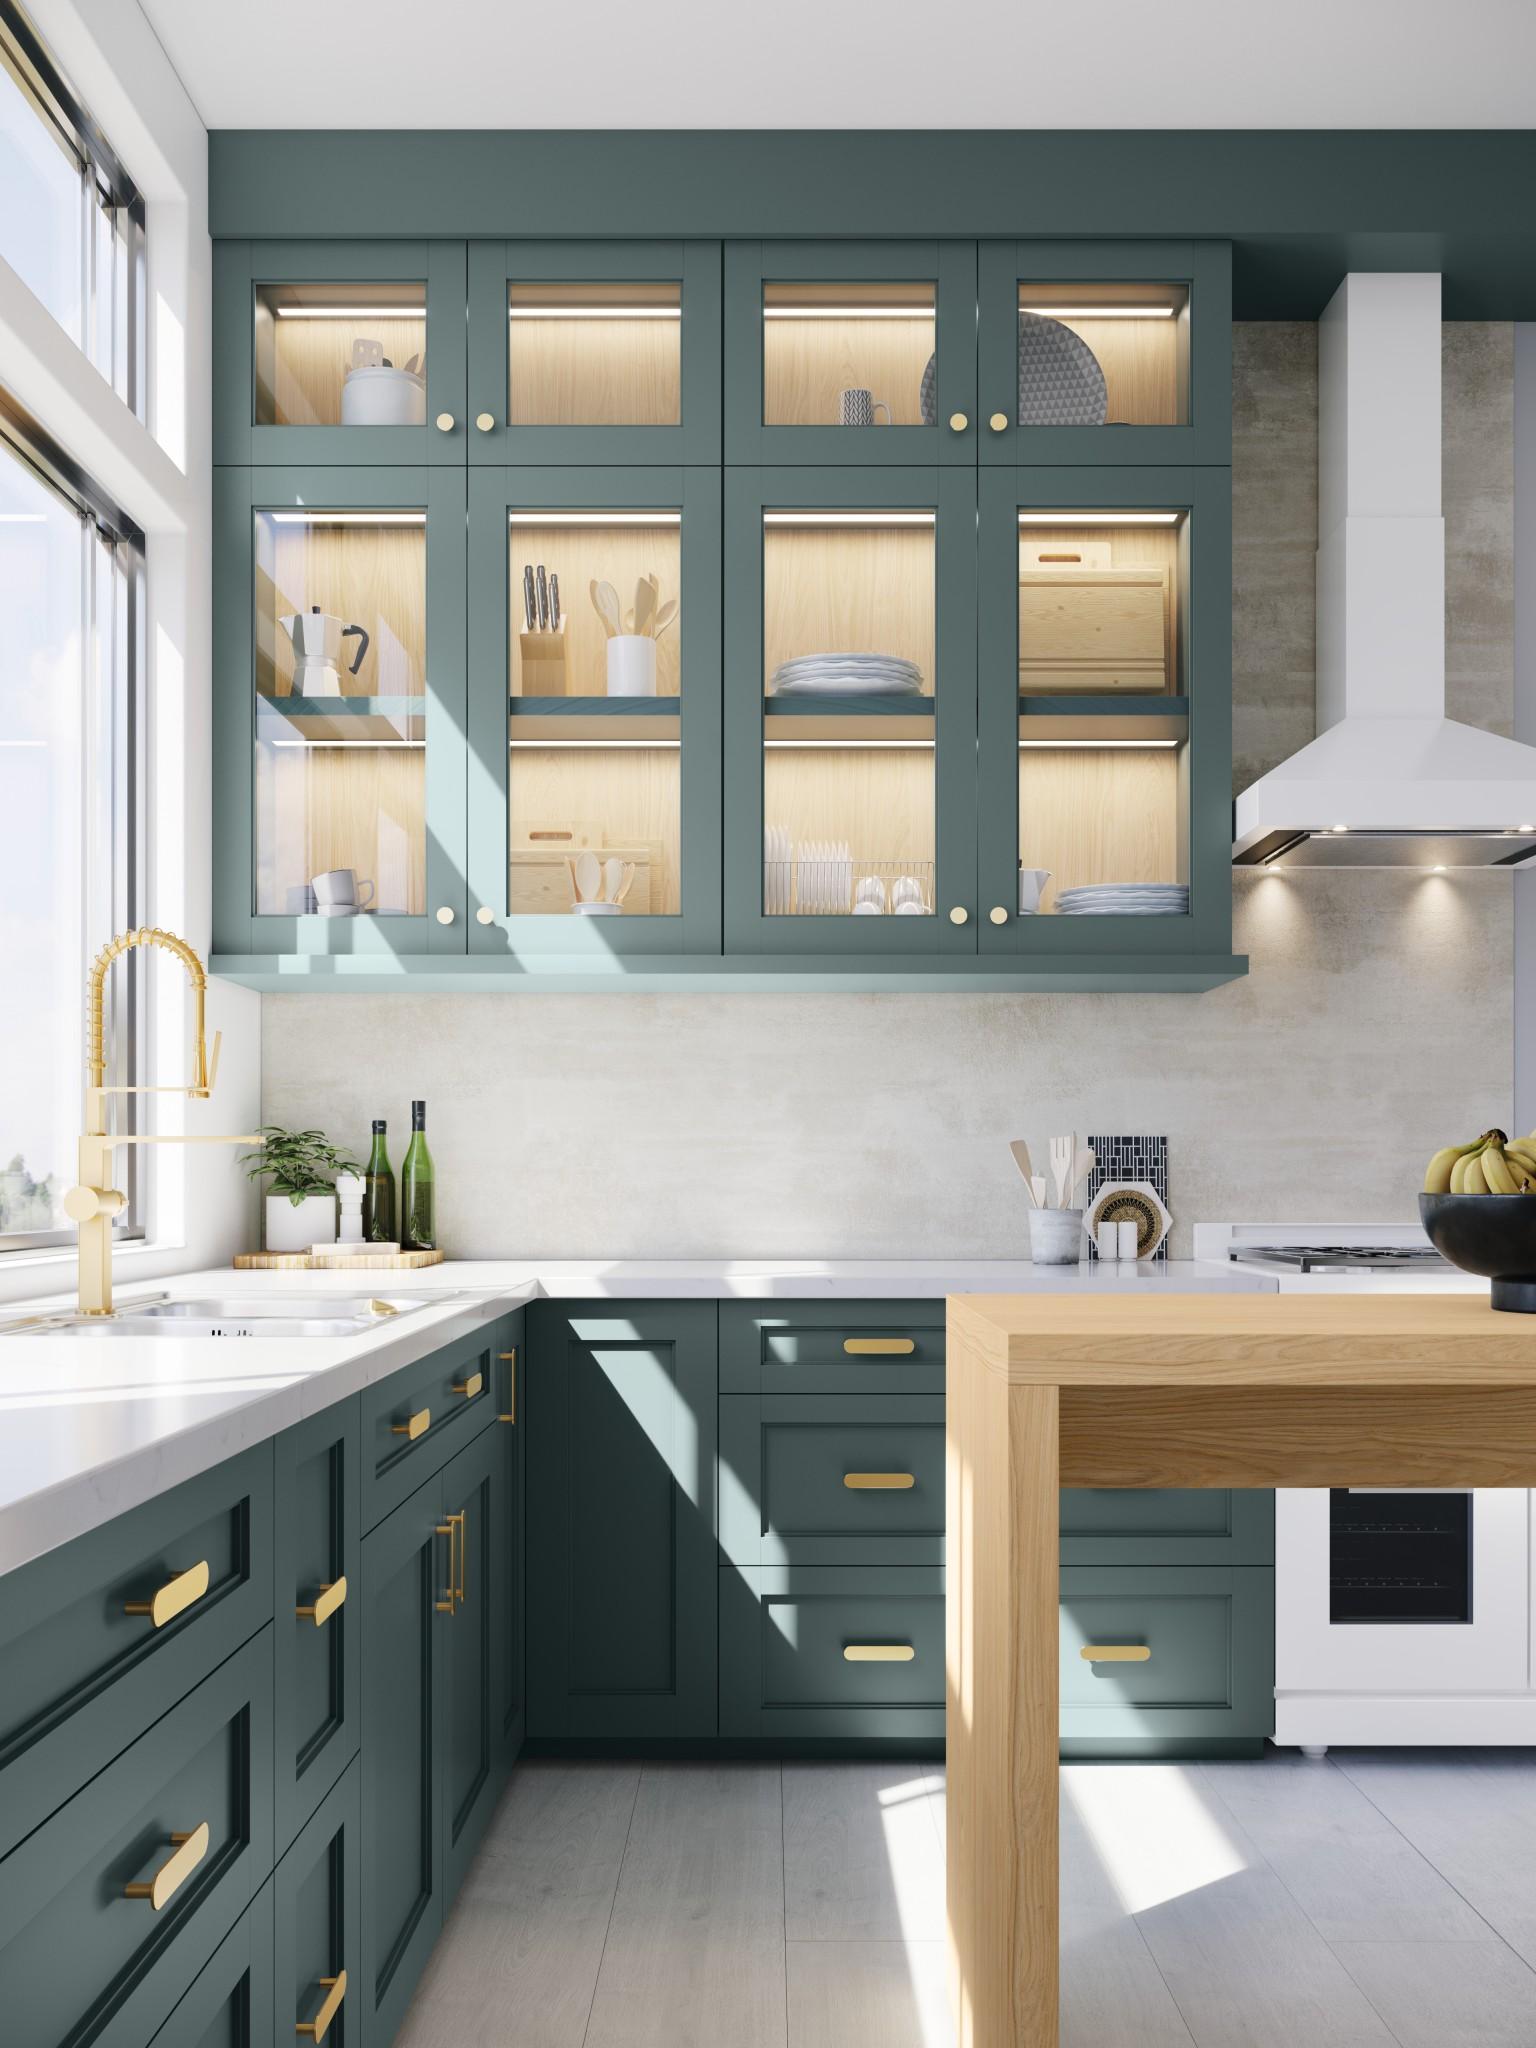
Start with the routes around it
An island changes the whole room, including the route between the sink, refrigerator and cooking area. Mark its proposed footprint before choosing finishes. Add the projection of open drawers, appliance doors and stools in use. Walk through the room with another person doing a kitchen task.
Use site-specific planning guidance for the household and applicable requirements. A single clearance number cannot describe every layout, accessibility need or appliance opening. If the island makes the main route awkward, a smaller piece or no island may work better.
Give the island a primary purpose
Decide whether it is mainly a preparation surface, storage, dining space or a place for appliances. Each purpose affects dimensions and construction. Storage accessible from the dining side may be useful, but it should not conflict with drawers used during cooking.
Seating needs its own space
Check the usable knee space, seat height and room to get in and out. Count stools only after testing their occupied position. An overhang that looks generous in a photograph may not provide comfortable seating for the intended user.
Keep the dining position away from foreseeable conflicts with hot cookware and appliance movement. A clear place to serve food may be more useful than an extra stool squeezed into the cooking route.
Compare an island with simpler options
A small independent table, peninsula or movable cart may provide the needed surface with less construction. Compare stability, storage, cleaning access and where the piece will live when not in use. Do not describe a fixed island as mobile simply because it is not attached to the cabinets.
Confirm floor conditions, assembly and fixing requirements before purchase. Plan utilities with the relevant installer if they are part of the project. Choose the island after the working layout succeeds, not as the starting point of the room.
Use the storage hardware to define the island
A preparation island can be planned around a broad drawer for cookware, a waste pull-out beside the preparation area or storage approached from the dining side. Richelieu SE Cargo ↗ illustrates a fitted waste option; Rev-A-Shelf 5WB1 ↗ illustrates a pull-out basket within a suitable cabinet. These are storage components, not complete islands.
Compare their open movement with the person standing opposite before fixing the island dimensions. A simple table or wall leaf can provide occasional extra surface with less fitted hardware, but cannot be assumed to accept a sink, cooking appliance or unsupported seating overhang. Paying for an elaborate island makes sense only when its everyday job and surrounding route work together.
The linked products are examples of different approaches. Similar solutions can be found from other manufacturers and stores. Compare the exact model, supplied components and installation requirements. Product photographs are credited to their source. This article describes functions and planning considerations, rather than a hands-on test.