
A bike rack needs room for loading the bike, not only for the bike once parked. The right arrangement depends on weight, tires and how frequently it is used.
We compare a floor position, a wall hook and a pivoting rack, including the effort and movement each asks of the rider.
Measure the bike in use
A bicycle’s handlebars and pedals occupy more space than the tires. Measure the actual bike, including accessories, and try its route from the entrance to the proposed storage position. Include another bike or parked car if they share the area.
Decide who will use the storage. A high hook may save floor area but make a heavy bike difficult to handle. Test the movement with the intended rider rather than assuming everyone can lift or rotate the same load comfortably.
Pivoting storage or a simple vertical hook?
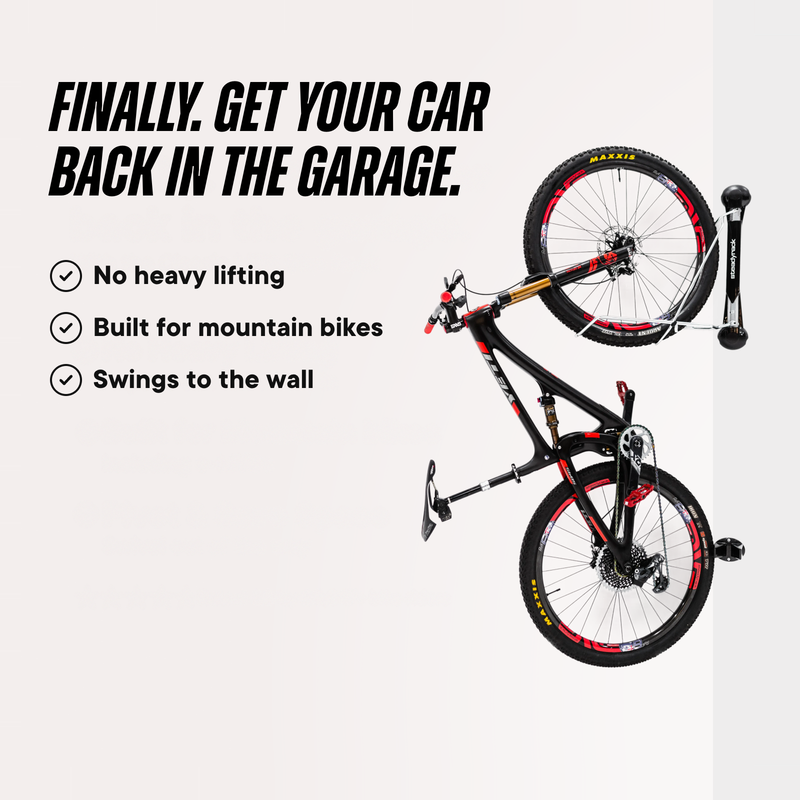
Steadyrack Classic MTB ↗ supports a compatible front tire and pivots toward the wall. Rolling the bike into position and pivoting it is a different action from lifting it onto a fixed hook. Select the rack against the current tire, wheel, weight and fender guidance.
Gladiator’s Bike GearTrack Pack ↗ illustrates hooks supplied with a compatible channel. Compare the loading action and wall structure with the Steadyrack arrangement. A simple floor stand may be more convenient for a heavy daily bike when floor space exists. Extra mechanism cost is worthwhile when it reduces a real handling difficulty rather than merely creating the tightest photograph.
Choose a storage method
A floor stand can be simple and avoids lifting, though it uses floor space. A wall rack can free the route if the wall and fitting suit the bike. Ceiling systems need a particularly careful check of structure, handling and moving clearances.
Steadyrack provides a manufacturer example of a pivoting wall rack. Select the exact model for wheel size, tire width, weight and accessories. Do not infer compatibility with a heavy e-bike or mudguards from the appearance of another model.
Allow the full loading movement
Mark the position needed to place the bike in the rack and remove it. A compact parked position is not enough if loading requires moving the car every time. Check the wall sweep and clearance between handlebars, pedals and neighboring bikes.
Use the mounting method and supporting structure specified by the rack manufacturer. A wall lining alone may not provide the required support. Follow the instructions for the wheel rest and every supplied component rather than treating them as optional decoration.
Keep daily riding convenient
Place helmets and small riding items nearby without obstructing the bike movement. Give wet or dirty equipment an appropriate cleaning and storage routine. Do not turn a wall rack into an untested storage point for extra unrelated loads.
For occasional bikes, a simple accessible stand may be more useful than an elaborate lifting system. Choose the arrangement that makes taking the bike out easy, because storage that is difficult to use can discourage the activity it is meant to support.
The linked products are examples of different approaches. Similar solutions can be found from other manufacturers and stores. Compare the exact model, supplied components and installation requirements. Product photographs are credited to their source. This article describes functions and planning considerations, rather than a hands-on test.