
Choose drawers, bins and labels that keep screws, fittings and repair supplies easy to identify.
Separate usable stock from miscellaneous leftovers
Start by sorting fasteners and fittings into identifiable groups. Keep product information where it matters and do not mix parts that look similar but serve different applications. An unlabeled drawer of assorted hardware can waste more time than it saves.
Keep the quantities you are likely to use. A small active collection near the bench can be separate from less frequent supplies. Give returns a simple destination so new packets do not collect on every flat surface.
Use compartments around the parts
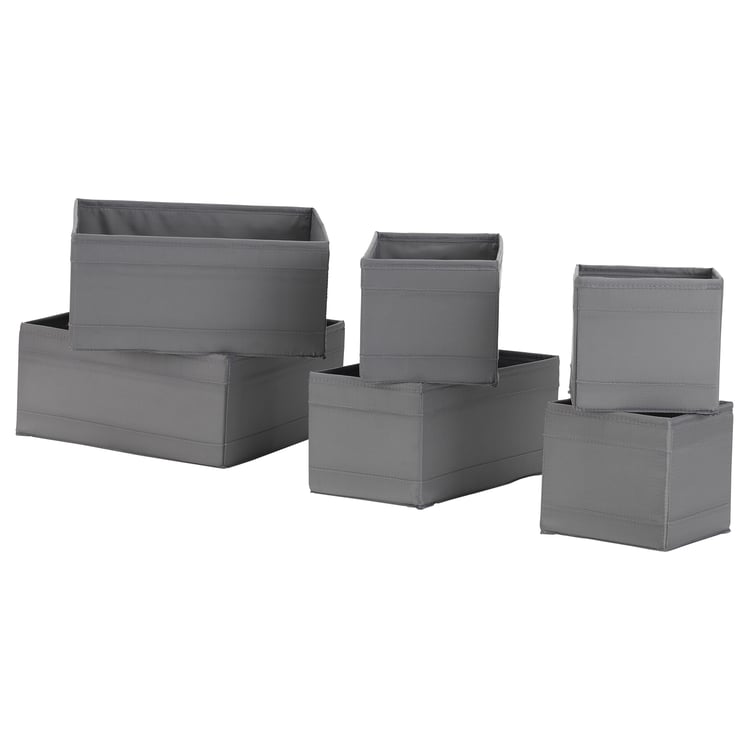
Shallow drawers suit small pieces that need to be seen from above. Removable bins can be carried to a task and returned. The organizer image illustrates divided storage rather than a specific workshop-rated product. Select materials and construction for the actual contents.
Check compartment depth, drawer clearance and the space needed for fingers. Tiny divisions can look efficient but make parts difficult to retrieve. Keep heavy hardware in a suitable support and do not apply a clothing organizer’s capacity to metal parts.
Label from the direction you approach
Put clear labels on the drawer fronts or bin faces that remain visible. Use a consistent naming method, such as the item type and relevant size, rather than inventing a different system for each drawer. Leave room to update labels.
Keep sealed products in their original containers and follow their storage instructions. Adhesives, finishes and chemicals do not belong in an unlabeled general-parts bin. Choose secure or specialized storage when the product requires it.
Choose cabinets for access and maintenance
Closed storage can reduce visual clutter, while transparent bins make stock easier to inspect. Consider dust, cleaning and whether doors obstruct the bench when open. Follow the cabinet’s assembly and anti-tip requirements.
Trial a few labeled boxes before buying a large drawer cabinet. Use them during an actual repair and the cleanup afterward. Expand only when the categories remain clear and the storage makes finding and returning parts easier.