
An empty shelf makes almost any shoe organizer look convincing. The real test comes when large sneakers overhang the edge, a slim heel slips between the bars or the pair you want is hidden behind three others.
Start with your own footwear. A catalog’s pair count is a useful reference, but it cannot tell you how many of your shoes will fit—or whether you can take them out easily.
1. Flat shelves: a useful starting point
A flat shelf accommodates different styles without matching a heel to a rail or a boot shaft to a support. Adjustable spacing makes it easier to create low sections for lightweight shoes and taller sections for ankle boots.
Excessive depth can be its weakness. Two rows increase capacity, but make the rear row harder to reach. For everyday shoes, one accessible row may work better, leaving the deeper part of the closet for something else.
Before ordering shelves, try your largest pair in the proposed arrangement. Measure its length and width, and allow enough room above to grasp it. Fitting between two panels is not the same as being convenient to use.
At lower levels, an easy-clean surface or removable mat can help. Clean and dry shoes before putting them away rather than bringing wet street dirt straight into the closet.
2. Sloped shelves: better visibility, different clearances
A slope makes footwear easier to see, particularly on lower levels. It can also create a display-like arrangement when viewing the collection matters.
The lower edge needs a way to retain the shoes. Rev-A-Shelf’s Shoe Rails are one example intended for static or slide-out shelves. A rail is a retaining element: it does not replace the shelf or its slides.
Richelieu also offers DECO shoe rails. A simple rail is worth considering before buying a complete mechanism. Check its length, mounting arrangement and height relative to the shoe.
A slope does not automatically increase capacity. Shoe height and shelf angle affect the spacing needed between levels. Test footwear with a high instep or broad sole in particular.
Rev-A-Shelf Shoe Rail ↗ · Richelieu DECO rails and closet accessories ↗
3. Pull-out shelves: solve the reach into the back
A pull-out brings the contents closer. That is useful when shoes occupy a deeper cabinet and you do not want to remove the front pairs every time you need something behind them.
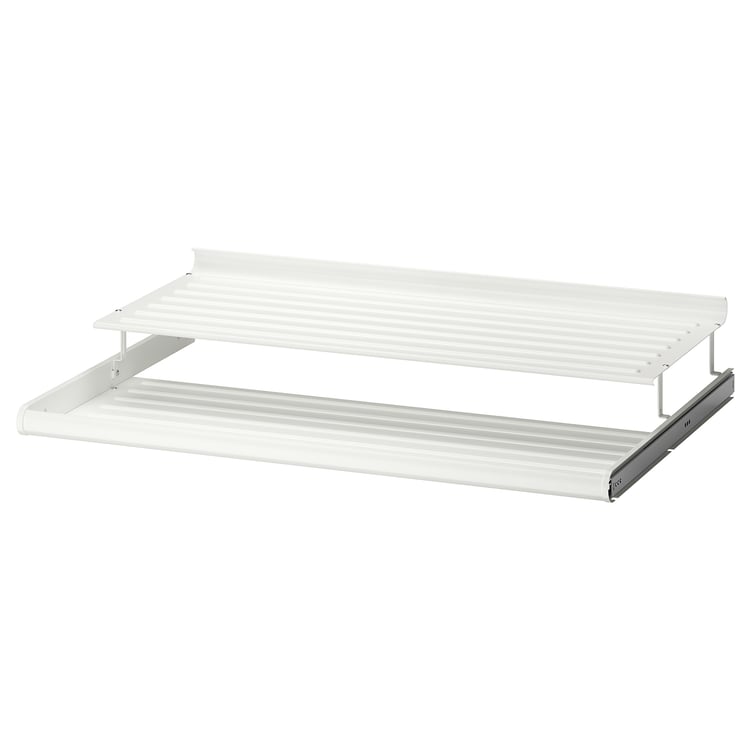
IKEA’s metal KOMPLEMENT pull-out shoe shelf for PAX is one example. Match the specific product to the intended frame. The size in the product name refers to its corresponding cabinet; it should not be treated as a universal insert for any closet.
A slide needs space in front of the furniture. With hinged doors, check hinges and the open door edge. With sliding doors, check the width of the exposed opening. Examine the supporting surface too: a thin heel and a broad sole behave differently on an open frame.
Slides improve access but add cost, cleaning surfaces and installation requirements. A shallow, easily reached compartment may only need a fixed shelf.
4. Tilt-out cabinets: shallow furniture for a narrow passage
In a tilt-out cabinet, the shoes sit in a compartment that tips forward with the front. This arrangement allows a shallower cabinet than many layouts with shoes resting horizontally.
It can be useful near the entrance or in a narrow passage, but it does not suit every style equally well. Long shoes, bulky sneakers and ankle boots may need a different divider arrangement from lightweight flats.
IKEA’s BISSA 705.302.56 has two compartments and allows the dividers to be repositioned or removed. IKEA gives an approximate capacity of eight pairs. That is still dependent on the footwear: test your largest pair before choosing. IKEA also requires this cabinet to be secured to the wall.
Plan tall boots separately rather than squeezing them into a compartment intended for low shoes. A shallow cabinet is only useful if its loaded front closes freely.
5. Revolving shoe trees: storage around a central axis
A rotating organizer does not have to be an expensive built-in fitting. A freestanding shoe tree with several revolving levels uses height and lets you turn a chosen pair toward you.
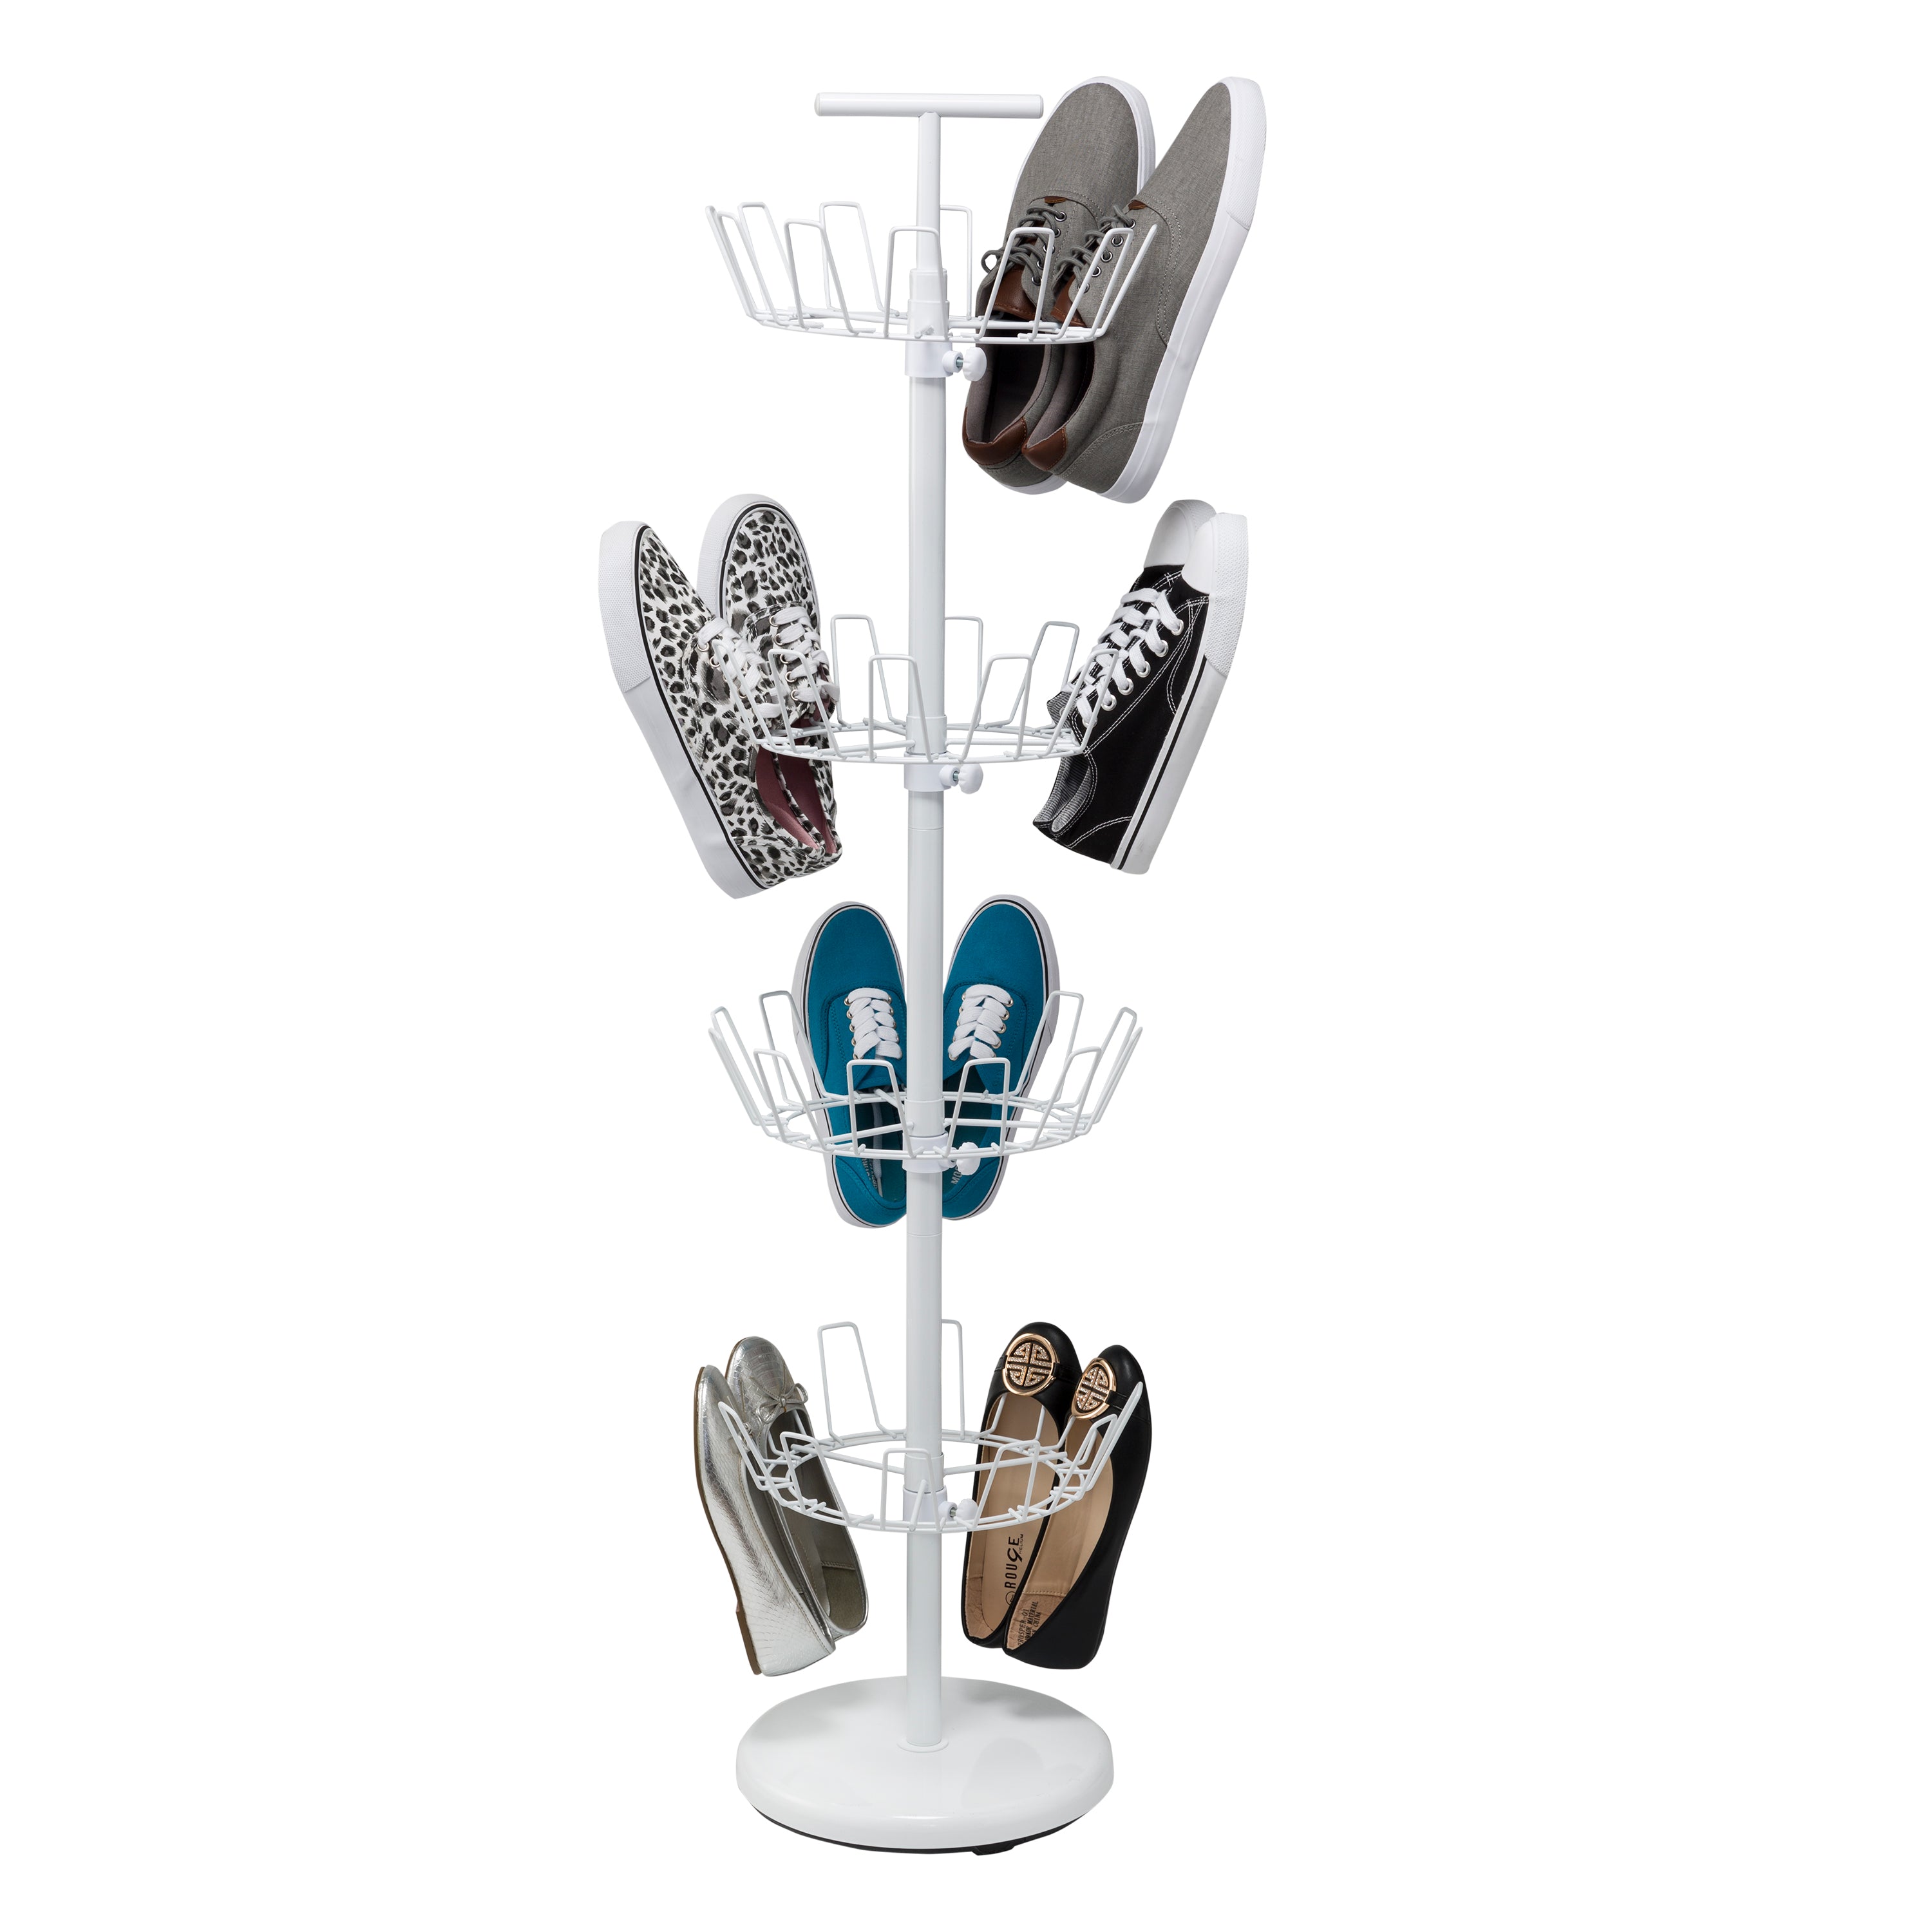
Honey-Can-Do’s SHO-01197 is one example. The manufacturer describes four independently revolving, height-adjustable levels and capacity for up to 24 pairs. The product page showed it as sold out when checked, so it is an example of the arrangement rather than a promise of immediate availability.
Plan for more than the base. Include the outline of the loaded shoes and their turning clearance. A small footprint does not mean a loaded organizer will fit into an equally small compartment.
Check how it supports your particular shoes. An organizer suitable for low footwear may not accommodate tall shafts or heavy work boots well.
6. Tall boots need their own zone
A tall shaft changes the required storage height. You can provide a higher shelf compartment and suitable internal shapers, or consider a rack designed specifically for boots.
Honey-Can-Do’s Black 3-Pair Boot Storage and Drying Rack is an example of the second approach. Examine its support arrangement and match it to your boots’ construction. The words “boot rack” do not guarantee suitable support for every shaft.
A shaft shaper helps maintain form, but does not remove the need for room around the sole. Avoid packing boots so tightly that the shafts constantly rub against neighboring pairs.
A lower-cost start: a small rack
If the closet has an empty lower compartment, a simple freestanding rack may solve the problem without changing the built-in furniture. IKEA GREJIG is one example. Follow the manufacturer’s instructions for stacking rather than assuming you can build a tower of any height.
This approach lets you change the arrangement and discover how much space you need. The trade-off is fitting an existing rack into the compartment instead of using its full width. For a few everyday pairs, that may be a reasonable compromise.
Choose for your own collection
Separate everyday footwear from seasonal pairs first. Frequently worn shoes deserve the easiest access. Longer-term storage can be higher up or in labeled boxes after the shoes have been cleaned and dried.
Then test your largest sneakers, tallest ankle boots and tall boots. Those three checks often reveal more about space requirements than a catalog’s pair count.
A useful arrangement can combine several methods: a shallow rack at the entrance, a pull-out for work shoes and a separate tall boot zone. The aim is easy selection and putting away. If several pairs must be moved every day, the layout is too crowded even when everything technically fits.
What causes the most trouble in your home: shoes hidden at the back, tall boot shafts or a lack of space right by the entrance?
Sources checked 17 October 2026. Product photographs credited above. Consult the exact product’s installation instructions and your footwear’s care guidance before choosing a storage arrangement.