
Choose panels, rails and holders around tool shapes, compatible accessories and the structure behind the wall.
Group tools by the task
Wall storage works when it puts a useful group within reach. Lay out the tools used for one activity and decide what belongs above the bench, near the door or in a closed cupboard. Keep frequently used items accessible without reaching across a machine or fragile project.
Trace the actual tool shapes before buying a panel. A hammer, charger and long-handled tool occupy more room than their hanging points suggest. Leave enough clearance to remove them without knocking neighboring items.
Panels and rails are complete systems
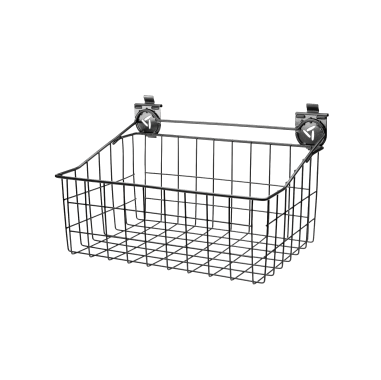
Pegboards and slatwall rails use different accessories and fixing arrangements. Confirm that hooks and baskets are compatible with the selected panel. Similar-looking slots do not establish a safe fit. Check the complete installed system’s limits rather than adding together unrelated hook ratings.
The IKEA SKÅDIS image illustrates small-tool organization. It should not be treated as a heavy-duty garage rating. Richelieu also documents a garage slatwall approach; compare the actual product instructions, accessories and supporting wall for the intended load.
Fix to the structure, not just the finish
The wall surface may conceal masonry, timber framing, services or a lining with limited fixing capacity. Choose the mounting method specified for the actual structure. Seek a suitable installer where the wall construction is uncertain.
Arrange sharp, heavy or powered tools in storage appropriate to them, with blades, batteries and chargers handled as their makers instruct. A tidy open display is not the right destination for every tool, particularly where children can reach it.
Keep room for change
Leave a few unused positions so the layout can evolve. Label small baskets and avoid creating a hook arrangement that only works when every tool is returned in a precise order. Keep replacement accessories identifiable.
For a low-cost start, mount a small compatible panel or rail rather than covering the entire wall. Test a normal project and the cleanup afterward. Expand the system only where it makes tools easier to find and return.